
Introduction
Imagine you are at work in the farmyard, and the sun starts going down; the light changes very quickly, and you still have many important things to finish with your tractor. This is where it becomes quite critical to install good work lights. The work lights will ensure you see what you’re doing, no matter how dark outside gets. Your work will make your working days and nights safe and easy, just like during the day.
In this post, we will tell you why adding DualVisionLED work lights to your tractor is a fantastic idea and how to install them on your own. They give off a bright light, are built to last, and use barely a fraction of conventional bulbs’ energy. In this way, not only will it save you money, but it will also help save the planet.
In this guide, the following sections will guide you through everything to assist in deciding on the best DualVisionLED lights and tools necessary for the installation process, accompanied by a step-by-step guide on installing them. Some essential safety measures will also be provided.
Stick around for details that can help you improve your night visibility on the farm with DualVisionLED work lights.
Benefits of Installing Work Lights on a Tractor
The first thing to understand when it comes to putting work lights on your tractor is that they have a whole series of benefits. These lights make working later in the evening possible and increase your safety.
Increased Productivity
Good work lights, like those from DualVisionLED, will let you keep working even after the sun goes down. The lights help not only in visibility but also in the direction of your work. It can be a great resource during busy seasons when one has to work from dawn to dusk. You can extend your working hours without sacrificing speed or safety by using adequate lighting.
Enhanced Safety
The right kind of lighting prevents accidents. It helps people see other possible threats easily in the dark, like rocks, holes, or any other form of impediment in the way. Proper lighting also makes the tractor more visible to other people on the farm, thus avoiding a collision with them. This is essential in preventing injury and ensuring all persons involved can work under difficult lighting conditions.
Reduced Eye Strain
Working under insufficient light will strain one’s eye and ultimately cause eye fatigue. You may realise that this will affect both your health and working efficiency. Clear and bright LED lights minimise this strain and increase visibility to maximise your attention.
Dependability and Durability
Today’s most durable on the market, for example, LED lights from DualVisionLED, designed for the harshest environmental and weather conditions agriculture finds itself in, translates into far less replacement, maintenance, and of course, better performance—something quite important when you rely on your equipment to do quite a lot for you.
Choosing the Right DualVisionLED Lights for Your Tractor
It’s not just a matter of finding the brightest light for your tractor; choosing the best work lights is much more critical. Considering the work you’ll be doing, you’ll have to ensure you get the right fit for the conditions under which you will be working. Here’s how to choose the best DualVisionLED lights tailored to your tractor and work environment.
Understanding Light Specifications
The first step in choosing the right lights is to understand the specifications and what they mean for your usage:
Lumens:
This measures then the amount of visible light emitted from a source. More lumens will give brighter light, which is critical in cases where more light is required for very big or dark areas to be worked upon.
Wattage:
Wattage indicates how much power the light uses. All in all, LED lights give off the same light intensity at a lower wattage than filament bulbs, meaning they save energy.
Durability:
Look at the IP (Injson Protection) rating. This will tell you how much the light is protected from dust and water. The improved IP rating is required for an increased lifespan of the light in open-field agricultural environments.
Match the Light to the Task
Depending on your specific needs, you might want different types of lights:
Floodlights are a type of light that produces very high-intensity light over large areas. They are so suitable for broad visibility for most places in general fieldwork.
It will provide focused light in one spot at a distance, which is suitable for jobs needing pinpoint visibility. In the end, hybrid models with a fixed setting might be the best choice for the user who performs very varied types of duties with his tractor.
Consider Your Tractor Model
Only some lights are suitable for some tractor models. It’s essential to:
Note that some lights may require special brackets or adapters for mounting. Check first to ensure that the light mount you have purchased is conducive to the design of your tractor before installation. Always make sure that the electrical specifications, voltage, and current coincide with those of your tractor to avoid overload, which, in the end, may be very dangerous.
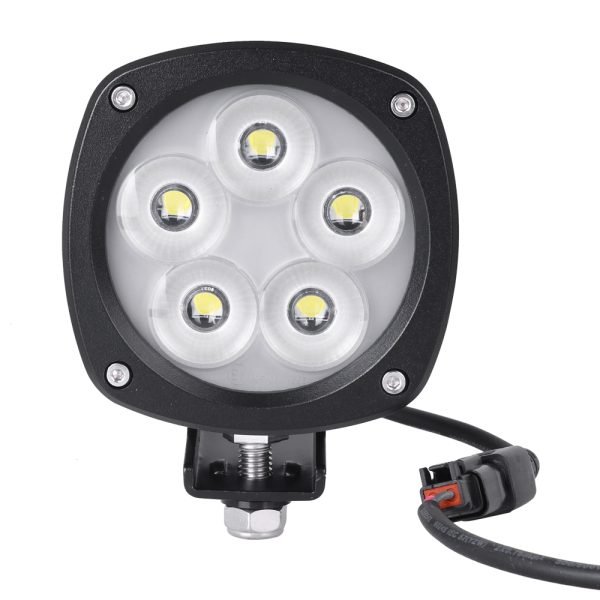
Reviewing the Models
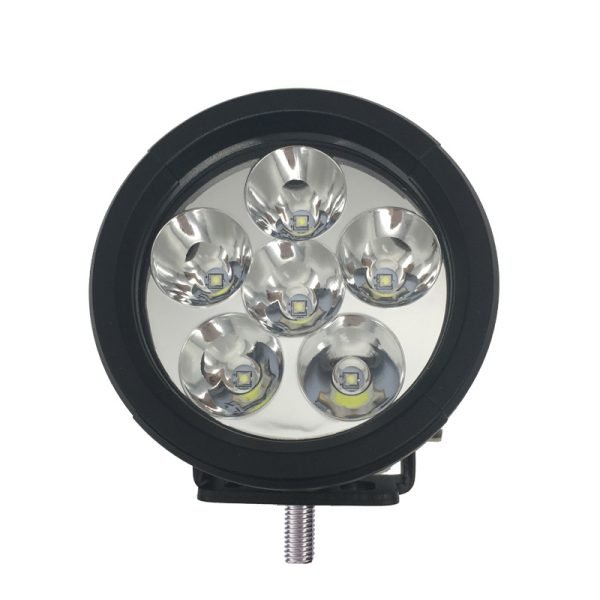
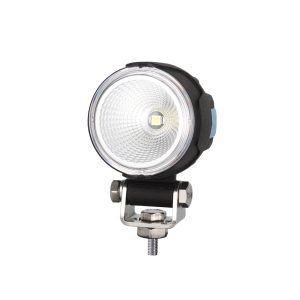
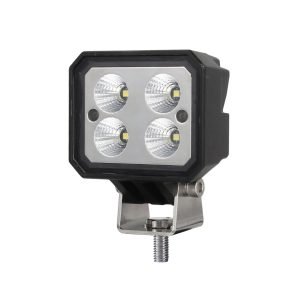
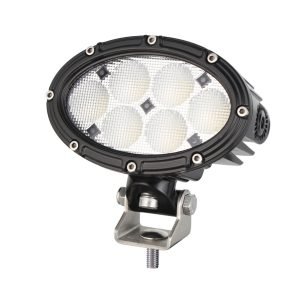
DualVisionLED offers several models that cater to different needs:
39W LED tractor work lights are the best alternative for medium and large tractors, assuring immense luminosity and providing excellent energy-effective service. A model with lower wattage may be considered for smaller tractors or a more specific kind of task, meaning that it does not overpower the tractor’s electrical system but, at the same time, gives better visibility.

Tools and Materials Needed for Installation
Before installing the new DualVisionLED work lights on the tractor, you must gather all the necessary items and tools for the job. This will make work easier and faster since you will not have to reach out to far places to get stuff. Here is a list of what you may need:
Essential Tools:
Screwdrivers: There will be a requirement of screwdrivers set in the form of flat and pointing, which will assist in various screws and fittings involved in the fixing.
Wrench Set: Adjustable wrenches are needed to tighten bolts and nuts securely.
Wire Cutters/Strippers: You will require this for the wiring—essentially, it cuts and strips off the insulation from your electrical wires.
Drill and Bits: Some of the drillings are to be done on the tractor’s body for the mounting holes, depending on how the light brackets were designed.
Multimeter: This is an important tool for checking electric connectivity to ensure no circuit shorting occurs during mounting.
Installation Materials:
Mounting Brackets and Hardware: Normally, it comes with the package when you buy your DualVisionLED Light kit. However, check to be sure. You need brackets and screws that will firmly mount the lights.
Electrical Connectors and Wiring: High-quality electrical connectors with enough wiring length are essential for connecting the lights to your tractor’s power system without problems. You would do well with weatherproof connectors for durability and safety.
Cable Ties and Electrical Tape: Use cables and electrical tape to bring the wiring into a tight, secure, neat assembly. This will prevent vibration and the possibility of wires being in contact with sharp edges that can damage the wire insulation.
Corrosion-resistant Fasteners: As the operation is done outdoors, it is highly advisable to use screws and bolts that are corrosion-resistant to avoid rust problems and make sure the installation serves for a long time.
Optional but Helpful:
Voltmeter: While a multimeter is going to do the job, a dedicated voltmeter is going to give you a quick read on your electrical system’s voltage to make sure it’s compatible and safe before connecting your lights.
Silicone Sealant: Silicon sealant is used throughout the edges of the installation to help prevent water entry, which can be primarily helpful in wet weather.
Safety Gear:
Wear gloves to protect your hands from sharp edges and potential electric shocks. Protect your eyes from flying debris when drilling or cutting.
Step-by-Step Guide to Installing DualVisionLED Work Lights on a Tractor
The new work lights for your tractor will not only improve night visibility but also substantially contribute to improving overall safety and efficiency. Follow this guide to make sure your DualVisionLED lights are installed correctly.
Step 1: Planning and Preparation
With the type of light you would like to mount in mind, identify where the lights will be mounted on the tractor. Recommendations are above the front grille, on the roof facing forwards or backwards, and on the sides to illuminate a broader area. Once the positions of the lights have been decided, use a marker and measuring tape to mark the exact positions. This will enable equal spacing and alignment.
Step 2: Mounting the Brackets
Having made the marks, proceed by drilling the holes on which the mounting brackets will be located. Always wear your safety glasses when drilling to protect your eyes from any flying debris. Be sure to securely attach the mounting brackets to the pole with screws and bolts from your light kit. Make sure to tighten them securely with your set of wrenches.
Step 3: Wiring the Lights
The wiring run for each light is to be returned to the source of power on the tractor. In that effect, all the wires are supposed to be tied well with cable ties, moving away from moving components or sources of heat. Through the aid of electric connectors, the light wiring is connected to the tractor’s electrical system. Here, a multimeter would help test the right polarity so there is no shorting.
Step 4: Making Electrical Connections
Before fixing everything in position, connecting the tractor and checking if each light is in working condition is necessary. The whole measure is done with the intention not to leave any wiring to redo everything. Ensure the wiring is secured using cable ties and electrical tape after securing. This will avoid the possibility of hanging or catching the wires in the moving parts of the tractor.
Step 5: Finalizing the Installation
Run a bead of silicon sealant along the edges of all brackets to light and where holes were drilled to prevent entry by water into the wall. This should be done more so in a wet environment. Check the connections and mounts again. Secure everything firmly. More minutes would be worthwhile here to check it than to get it all checked later through trouble.
Step 6: Safety Check and Cleanup
Remove any tools, trash, or installation material from the tractor from the area. Start the tractor up again and put on the lights to see if there are any discrepancies in perfect condition. Expose any loose wires or fix any loose components that are connected.
Safety Tips and Best Practices for Installation
Safety Tips
Disconnect the Battery:
Disconnect always the tractor battery before starting any installation work. This helps one not to get accidental shocks and reduces the chance of having electrical shorts while working on the system.
Wear Proper Safety Gear:
Wear hand gloves to avoid being cut by the sharp edges. Wear protective glasses to protect your eyes from debris during drilling or cutting.
Check All Electrical Connections:
Check all connections using a multimeter to ensure proper voltage and polarity. Only proceed with the installation if connections are tight enough, can be shorted, or are broken.
Secure and Protect Wiring:
In all cases of installation, lead the route of all wiring away from moving parts or sources of heat. Secure it with cable ties and cover it with electrical tape or conduit to protect it from abrasion and exposure.
Use Quality Materials:
Opt for good quality and durable materials for all aspects of the installation, including corrosion-resistant fasteners and weatherproof connectors, allowing your lights and their installation to last long.
Regular Maintenance Checks:
The luminaire and bracket will be checked occasionally after installation to keep them in position, where bolts are to be retightened, and any expired wiring or connectors with a life span will be replaced to avoid failure.
Plan for Emergency Situations:
One has to keep emergency numbers and a first-aid box in case of an accident. If you know what to do, most things that can happen to you can greatly reduce the risks and consequences of all the problems.
Conclusion
In conclusion, installing DualVisionLED work lights in a tractor greatly boosts farming operations, considering that it supports longer working hours and safety improvement during the night. These lights make long working hours possible, ensure that this hour is safe, and allow for productivity in periods of low lighting. Plus, LED technology’s maximum brightness and energy efficiency enable your workspace to shine brilliantly for fewer energy costs and replacement requirements based on its longer-lasting design.
Call to Action
Upgrade your tractor with DualVisionLED work lights today to take full advantage of these benefits. Just visit the product page of DualVisionLED and learn about this innovative solution, viewing the whole range of quality lighting there. Change with it to a brighter, safer, and more efficient future of farming.